VirtualBox中,SDDM 界面显示得非常小,我们可以通过xrandr 命令解决。
列出显示器:1
xrandr --listmonitors
接着添加以下命令到 /usr/share/sddm/scripts/Xsetup 即可:1
xrandr --output Virtual-1 --mode 1920x1080
VirtualBox中,SDDM 界面显示得非常小,我们可以通过xrandr 命令解决。
列出显示器:1
xrandr --listmonitors
接着添加以下命令到 /usr/share/sddm/scripts/Xsetup 即可:1
xrandr --output Virtual-1 --mode 1920x1080
1 | Map<String, Integer> totalStock = new HashMap<>(); |
1 |
|
使用axel多线程下载文件
以下载Windows11镜像文件为例1
axel -n 20 'https://software-download.microsoft.com/sg/Win11_Chinese(Simplified)_x64.iso' -o cn_zh_win11.iso
往配置文件中添加一行 install usb-storage /bin/true, 这会让安装 usb-storage 模块的操作实际上变成运行 /bin/true, 这也是为什么这种方法叫做伪安装的原因。 具体来说就是,在文件夹 /etc/modprobe.d 中创建并打开一个名为 block_usb.conf1
# touch /etc/modprobe.d/block_usb.conf | echo 'install usb-storage /bin/true' >> /etc/modprobe.d/block_usb.conf
这种方法要求我们将 USB 存储的驱动程序(usb_storage.ko)删掉或者移走,从而达到无法再访问 USB 存储设备的目的。 执行下面命令可以将驱动从它默认的位置移走:1
# mv /lib/modules/$(uname -r)/kernel/drivers/usb/storage/usb-storage.ko* /home/hlooc
现在在默认的位置上无法再找到驱动程序了,因此当 USB 存储器连接到系统上时也就无法加载到驱动程序了,从而导致磁盘不可用。 但是这个方法有一个小问题,那就是当系统内核更新的时候,usb-storage 模块会再次出现在它的默认位置
通过 /etc/modprobe.d/blacklist.conf 文件将 usb-storage 纳入黑名单1
touch /etc/modprobe.d/blacklist.conf | echo 'blacklist usb-storage' >> /etc/modprobe.d/blacklist.conf
保存文件并退出重启。usb-storage 就在就会被系统阻止加载,但这种方法有一个很大的缺点,即任何特权用户都可以通过执行以下命令来加载 usb-storage 模块1
sudo modprobe usb-storage
修改/etc/apt/sources.list替换为:1
2
3
4
5
6
7
8
9
10
11
12
13# pve6 <--> debian buster
#deb http://ftp.debian.org/debian buster main contrib
#deb http://ftp.debian.org/debian buster-updates main contrib
# security updates
#deb http://security.debian.org buster/updates main contrib
# https needs(apt install apt-transport-https -y)
deb https://mirrors.aliyun.com/debian buster main contrib non-free
deb https://mirrors.aliyun.com/debian buster-updates main contrib non-free
deb https://mirrors.aliyun.com/debian-security buster/updates main contrib non-free
# pve6 repository: pve-no-subscription
#deb http://download.proxmox.com/debian/pve buster pve-no-subscription
#deb https://mirrors.ustc.edu.cn/proxmox/debian/pve buster pve-no-subscription
deb http://download.proxmox.wiki/debian/pve buster pve-no-subscription
1 | apt-get update && apt-get dist-upgrade -y |
1 | apt-get install -y apt-transport-https ca-certificates curl gnupg2 software-properties-common |
1 | curl -X POST 'http://192.168.56.1:8848/nacos/v1/ns/instance?serviceName=hlooc&ip=192.168.56.2&port=8888' |
1 | curl -X GET 'http://192.168.56.1:8848/nacos/v1/ns/instance/list?serviceName=hlooc' |
1 | curl -X POST "http://192.168.56.1:8848/nacos/v1/cs/configs?tenant=abcd&dataId=hlooc&group=public&content=A=B" |
比如命名空间的ID是abcd ,group是public , dataId是hlooc , 发布的配置是A=B这种key-value内容
1 | curl -X GET "http://192.168.56.1:8848/nacos/v1/cs/configs?dataId=hlooc&group=public&tenant=abcd" |
linux压缩和解压缩命令
1 | 解包:tar xvf filename.tar |
1 | 解压1:gunzip filename.gz |
1 | 解压1:bzip2 -d filename.bz2 |
1 | 解压1:bzip2 -d filename.bz |
1 | 解压:uncompress filename.z |
1 | 解压:unzip filename.zip |
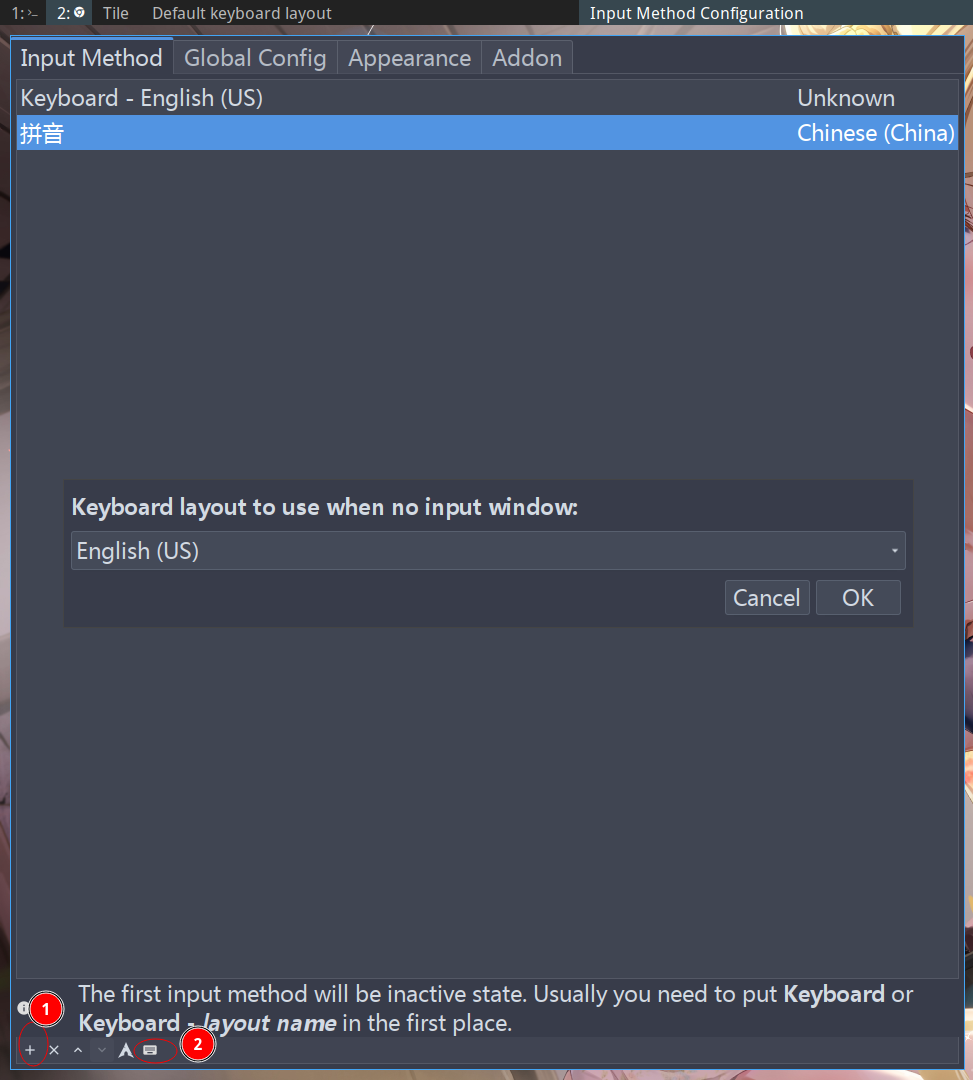
1.修改图形化界面的键盘布局
2.修改终端配置 /etc/vconsole.conf1
KEYMAP=dvorak
3.修改/etc/X11/xorg.conf.d/00-keyboard.conf1
2
3
4
5
6
7
8
9
10
11# Written by systemd-localed(8), read by systemd-localed and Xorg. It's
# probably wise not to edit this file manually. Use localectl(1) to
# instruct systemd-localed to update it.
Section "InputClass"
Identifier "system-keyboard"
MatchIsKeyboard "on"
# Option "XkbLayout" "us"
Option "XkbVariant" "dvorak"
Option "XkbOptions" "caps:swapescape"
EndSection
caps:swapescape切换大小写键和esc按键